No site these days is worth its worth unless HTTPS is enabled! This will guide you through the process of configuring your new blog to use HTTPS if you choose to do so. We will configure our domain to the server and then reverse proxy to the ghost blog container.
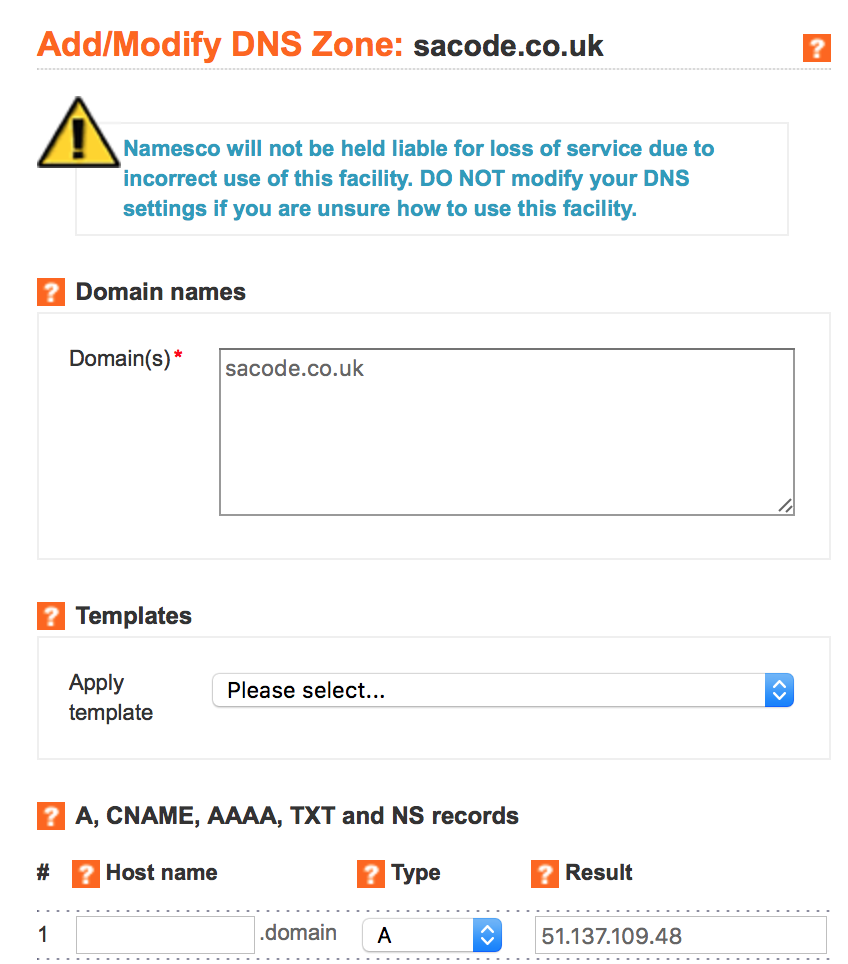
Firstly, you will need a domain. Head to any domain provider and pick up the domain you want. (I used Names since it was £5.99 at the time of writting this post for a .co.uk address and privacy protection). Once you've aquired your domain name, head into the DNS settings and set the A parmater to your VM's IP address. We won't need any further configurations at this point.

While the DNS tables update globally, we will head into our VM. SSH on to your machine. The first thing we will do is update our apt-get repo mirrors. By default, Azure has its own repos which, at the time of writing this post, were not active. To do this head to /etc/apt and open sources.list. If you don't have a text editor, run the following:
sudo apt-get update
sudo apt-get install nano
sudo nano sources.list
Now, wherever Azure is referenced in the file, change it to "us". To exit and save in nano, press ctrl+x which will prompt you to save on exiting. Then finally update one more time.
sudo apt-get update
Good, we should now have access to the repos we require. We now need to install nginx which is the equivalant to IIS on Ubuntu 17.10.
sudo apt-get install nginx
systemctl status nginx // Check nginx is up and running
Heading to http://{server ip} should now bring up a default nginx home page. Success!
Certbot
We will use Certbot to create a HTTPS certificate for us, follow these instructions to install Certbot.
sudo add-apt-repository ppa:certbot/certbot
sudo apt-get update
sudo apt-get install python-certbot-nginx
With that installed, we need to open up our default nginx settings to allow access to "yourdomain.com/.well-known/acme-challenge" so that we can confirm access through lets encrypt. There are mutiple ways to configure these settings but for now, this is what has worked for me. Head to /ect/nginx/sites-avaliable and open the file named default in nano. It's probably worth a read through this file to understand what options are avalaiable; once read update the file to the following:
server {
    listen 80;
    server_name yourdomain.com;
    root /var/www/yourdomain.com;
    location ^~ /.well-known/acme-challenge {
        allow all;
    }

    location / {
        return 301 https://$server_name$request_uri;
    }
}
Now we can make sure that there are no errors with the syntax and reload Nginx.
sudo nginx -t
sudo systemctl reload nginx
You can see that root has been defined here, make sure this directory exists with the steps below. We will also test to make sure we have access to the relevant directories before running the certification process.
cd /var/www
mkdir yourdomain.com
cd yourdomain.com
mkdir .well-known
cd .well-known
mkdir acme-challenge
cd acme-challenge
touch testfile.txt
sudo nano testfile.txt
hello world
ctrl + x
As soon as the global DNS tables have been updated, you can test to see if the file is downloadable by accessing http://yourdomain.com/.well-known/acme-challenge/testfile.txt or if it's still going through http://{serverip}/.well-known/acme-challenge/testfile.txt.
Once successful, head back to /var/www/yourdomain.com and remove the /.well-known folder.
rm -r .well-known
The certification process will create the directories itself. For the next step, the DNS tables must be working so you may have to wait at this point. To check the status of the update head to Whats my DNS and type in "yourdomain.com" to see if it's pointing to your machine.
Get the Certificate
The Certbot has become a lot more user friendly recently and will update the nginx configuratiom file diretly with the --nginx flag. Nice! To do so run:
sudo certbot --nginx -d yourdomain.com -d www.yourdomain.com
Follow the instructions providing your domain and the folder that we created above and it will grant us with a certificate for our HTTPS. The certificate will have to be updated every 90 days which can be automated but for now let's just simulate the update process to make sure everything is in order.
sudo certbot renew --dry-run
Open the ports
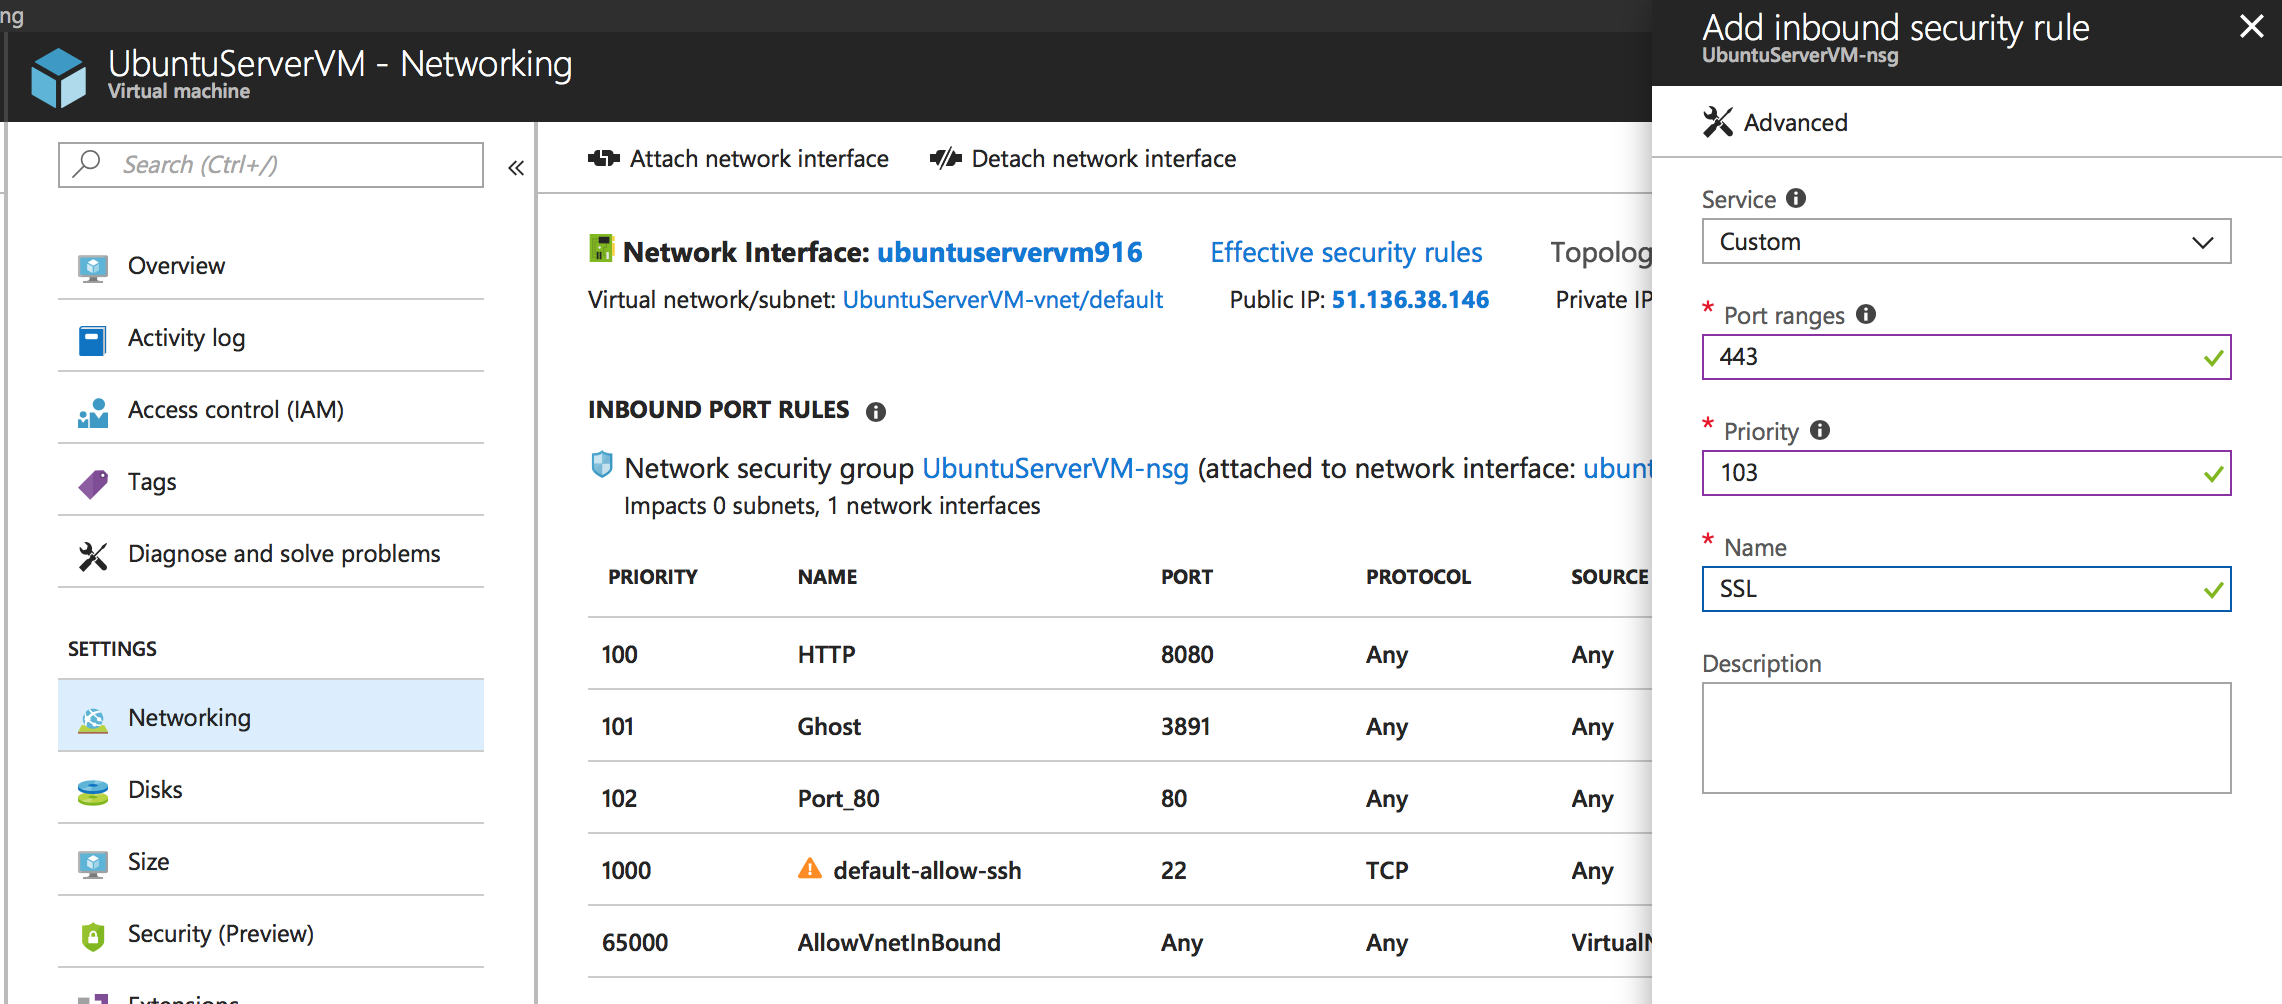
HTTPS/SSL uses port 443 which we have not opened up yet on Azure. Head to your Azure portal > then to the VM > then to the Networking tab. Add in a new inbound port rule for port 443 to open up access to https://.

Next we want to direct our server to our Ghost container instance. Head back to /ect/nginx/sites-avaliable and open the default file in nano. In the server settings for the new server listening on 443 created by Certbot, set "location /" inner brackets to:
proxy_pass http://127.0.0.1:<ghost container port>
proxy_set_header    X-Real-IP $remote_addr;
proxy_set_header    Host      $http_host;
proxy_set_header X-Forwarded-Proto https;
proxy_set_header X-Forwarded-For $proxy_add_x_forwarded_for;
We're also going to redirect the http route directly to HTTPS. For the original server that is listening on port 80, we want to add the following return statement:
return 301 https://yourdomain.com.
Check over the config file and reload it.
sudo nginx -t
sudo systemctl reload nginx
Now try heading to https://yourdomain.com and http://yourdomain.com. You should now have access and the http route should head directly to the https route!
Comments